View this article in another language
- 한국어
- English
- 日本語
- 中文
- العربية
- Español
- Français
- Deutsch
- Pусский
- Tiếng Việt
- Indonesian
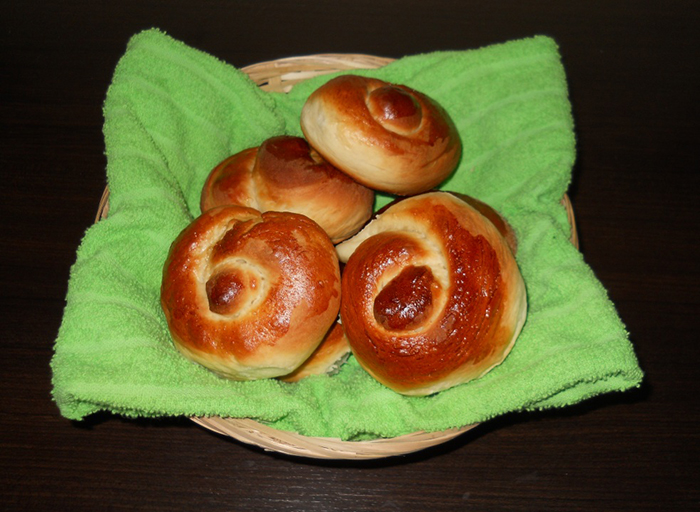
Korea.net Honorary Reporter Cintia Mancilla presents her own Korean bread rolls.
By Korea.net Honorary Reporter <font color="#0070c0">Cintia Mancilla </font>from Argentina
Photos = <font color="#0070c0">Cintia Mancilla</font>
The TV soap opera "Bread, Love and Dreams" (제빵왕 김탁구) (KBS, 2010) is one of my favorite Korean telenovelas of all times, especially because it has all the things I like most: great actors, a memorable plot and, most importantly, delicious Korean breads.
I felt inspired by this TV show to make some Korean bread. One curious thing is that we use an equal word for bread in Spanish, pan, and it's ppang (<ppang< i="">빵) in Korean. How did ppang enter the Korean language? We should start with its origins.
The word comes from the Latin word panis and it means to eat, related to sheepherding. Similarly, Japanese took this word from the Portuguese pão during the Jesuit expeditions of the mid-1500s. Over the years, due to linguistic influences, this loanword was adopted by Korean speakers, too.
While I was looking for an “ingredients you have at home” Korean bread recipe, one recipe from another website guided me to make it on my own.
I didn’t have any major problem with these steps. I only struggled a bit with shaping the bread dough. I´m sure anyone can give it a try. Cook with me this tasty and fluffy Korean bread! Honestly, I can´t wait to make more of this. These rolls go well with jam, cheese, ham or anything you´d like, because they have a neutral taste.
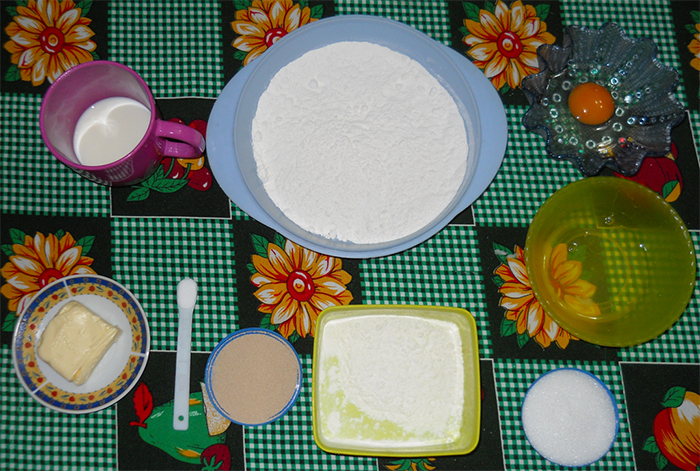
Ingredients:
3 tablespoons of butter (45 g)
0.5 cups of cold milk (100 g)
2 tablespoons of sugar (30 g)
0.25 teaspoons of salt (1.25 g)
1 large egg
2 teaspoon of dry yeast (7 g)
1.5 cups (180 g) plus 0.25 cups all-purpose flour (30-40 g)
1 egg white
Let´s cook!
Step 1: Heat the butter. It could be in a large heavy pot on the stove or for 10 seconds in microwave until it melts completely.
Step 2: In a large bowl, add the melted butter, milk, sugar and salt, mixing them well with a spoon or whisk.
Step 3: When the mixture is totally dissolved, crack one egg and add it to the mix. Then pour the dry yeast, whisking until it's all fully mixed.
Step 4: Add slowly 1.5 cups (180 g) of sifted flour. Stir until the dough has a uniform consistency. Don´t worry if you notice it's very sticky. Don´t add more flour at this point. We can fix this later.
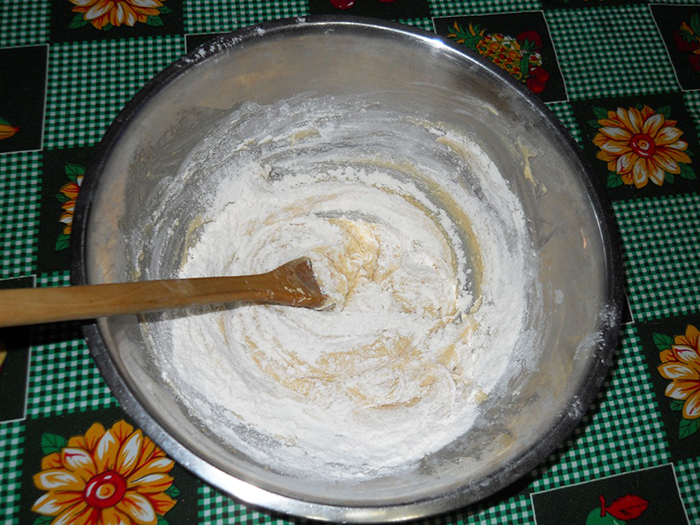
Step 5: Cover the bowl. The dough must then be left to rise for one hour. If the weather is cold, I recommend turning the oven on on low and putting the bowl as close as you can.
Step 6: When one hour passes, you should check to see if the dough has risen to be about double in size. With your hands, deflate and knead the dough for one to two minutes and cover again. The dough should then be left to rise for another 30 minutes. “Patience is the virtue of wise people,” they say.
Step 7: Place the dough on a chopping board and sprinkle flour on it. Knead the dough well until it becomes really smooth. Use the extra flour to make the dough less sticky so that you can easily remove it from your hands without losing its elasticity. If you're a beginner at baking, try to measure how much flour you're adding. You don´t want a dense bread, do you? Less is more.
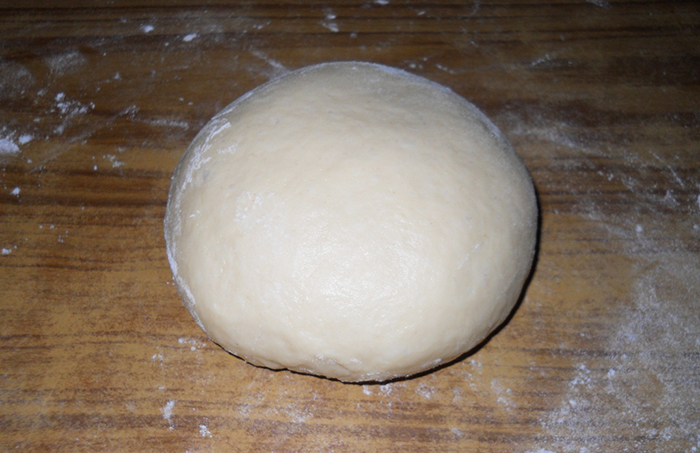
Step 8: Make small balls out of the dough, about 60 to 70 g each. One useful tip is to use your own hand to weigh them. Take small dough pieces that can fit in your closed fist. Make them as even as possible.
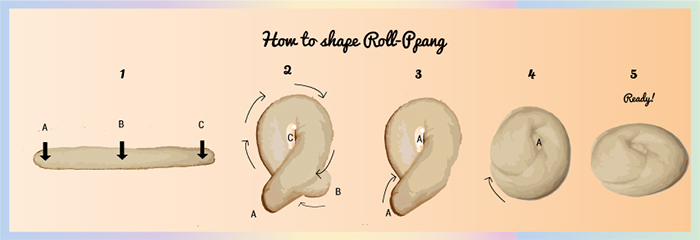
Step 8: Rub flour in your hands. Shape a cylinder of 8 inches/ 20 cm from each ball.
Step 9: Shape the roll into a No. 9 shape. To fold it, please look at the diagram. Make point B pass over C, forming a circle with the tail. A is the tail now, C is the center and B is the bottom. Make sure that A coils around the center C until you can insert the tail A underneath the center C to pop out again A on top.
Place these on a non-stick baking sheet, leaving enough space among them to expand. If you don´t have one, you can lightly grease any baking pan with butter, oil or with cooking spray.
Step 10: Let them rise for about one hour. You can cover them with kitchen paper to avoid the outer part of the rolls from drying out.
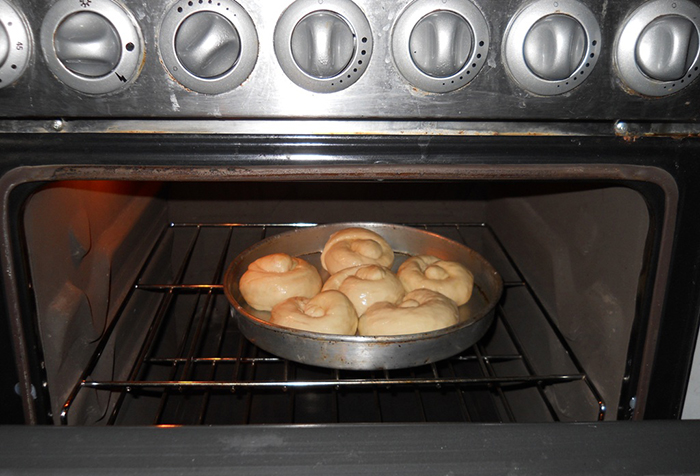
Step 11: Turn on the oven at a moderate heat (350 F/ 180 C) for five minutes. Brush the rolls with egg white and bake for 15 to 17 minutes until the crust is light golden brown. My oven tends to overheat food. If you have the same problem, the key is to use the lowest temperature possible. That way, you can manage the baking process more calmly and this will not significantly affect the final results.
Step 12: To check to see if the bread is perfectly cooked, there are different ways to do that. When the bread is done, it's easy to detach it from the baking sheet and it has a beautiful brownish tone. Or you can take one and tap the bottom of the bread. It should sound hollow.
Eat them hot! Don´t forget to prepare a cup of tea, coffee or milk, too!
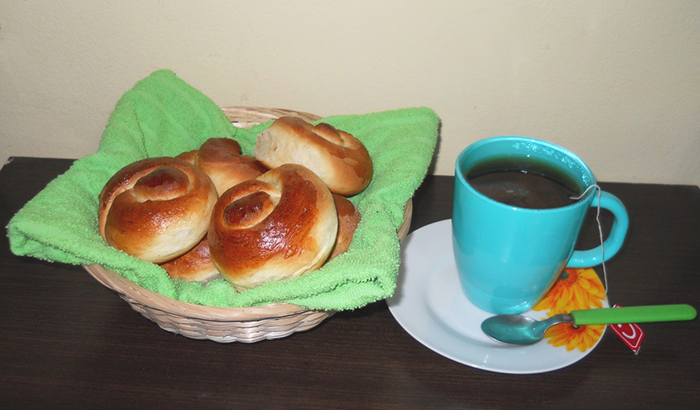
I've baked a lot of different bread recipes over years, but I could easily say that this is one of the best that I´ve found. These rolls are perfect for any occasion: crunchy on the outside, but tender on the inside.
And be sure to go back and watch "Bread, Love and Dreams"! It was a great TV series.
wisdom117@korea.kr
* This article is written by a Korea.net Honorary Reporter. Our group of Honorary Reporters are from all around the world, and they share with Korea.net their love and passion for all things Korean.</ppang<>